How do I create a Reserved Seating event?
Note: Some setup and configuration is required before you can create events with reserved seating. Please contact us to get started!
Creating a new event with reserved seating
Creating a reserved seating event is easy, with only a few changes to how you'd create an open seating event.
To create a new event, click the “+ New Event” button on the main page of your Dashboard.
Next, enter the basic information about your event including the event title, venue address, event date(s), and ticket on-sale and off-sale settings.
When you reach the "Tickets" section, you'll see a button for "Reserved Seating" and one for "Open Seating". If you don't see these buttons, your organization has not been configured for reserved seating. Please contact us.
Click "Reserved Seating", and then choose from your organization's configured seating charts.
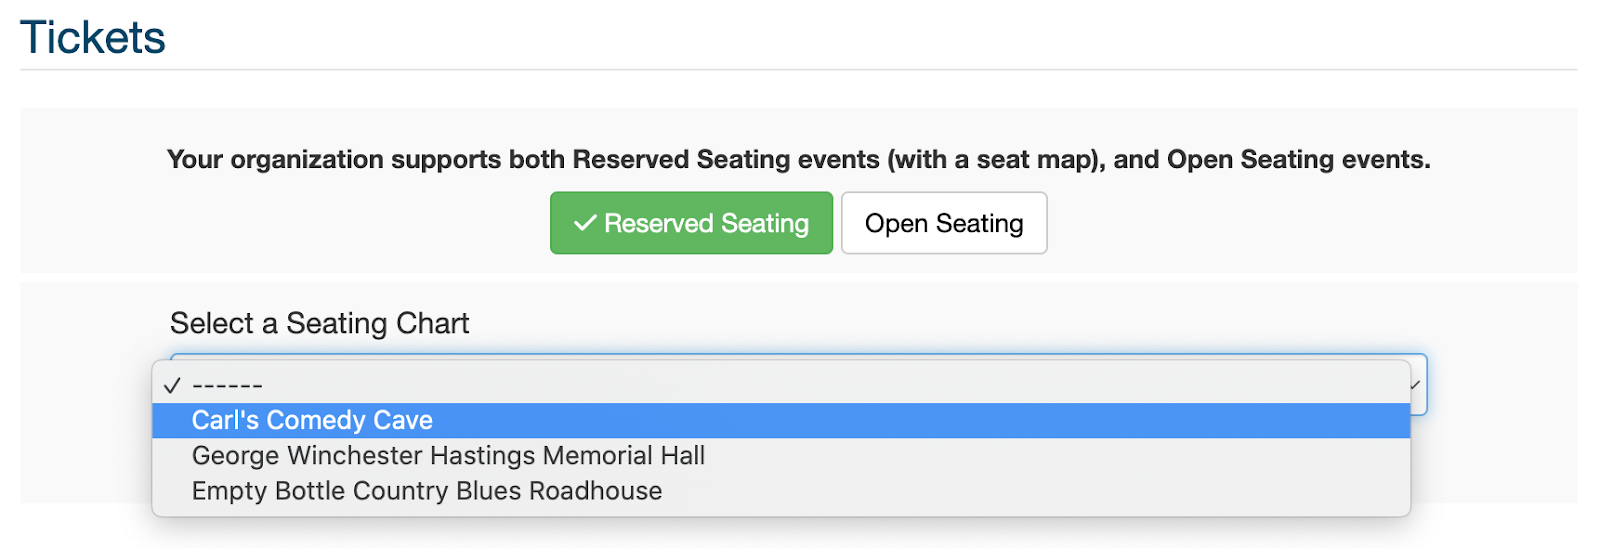
When you've selected the seating chart for your event, tickets corresponding to your map's sections and categories will be automatically loaded.
For each ticket, enter the ticket's name and price. If a ticket type has multiple prices (e.g. Adult, Youth, Student, etc.), you can click "Add a Price" to set additional prices.

Continue to enter the rest of the event information as usual, and click "Save" to create your event. That's it! You’ll be directed to the event’s dashboard, where you can continue to make any edits for your event page.
Reviewing my organization's reserved seating charts
You can see all of the available seating charts for your organization by going to the Organization menu in the upper right of your organization's dashboard. Select "Reserved Seating" to get a preview of all of your seating charts.
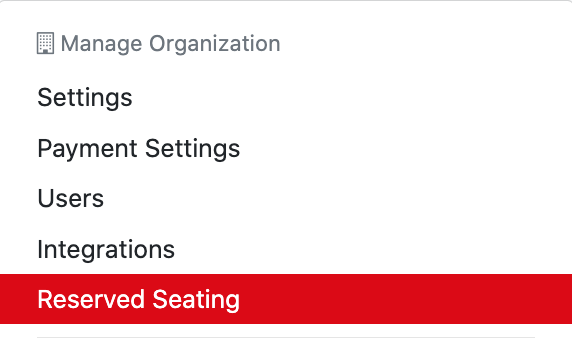
The Reserved Seating page will display a preview of all available seating charts for your organization.

Seating charts are created by Bold Type Tickets' support team to your specifications. Please contact us if you need additional charts created. A setup fee may apply.